
Tags
3D Printer, fabrication, HDR, IBL, Measurement Cube, NFGRF, rendering, Research
Key to both scaling and perspective matching, a ‘measurement cube’ is an essential component of the Image Based Lighting setup process.
Amazingly, they are very hard to find / purchase, so I decided to create my own.
In the past I have used a Gypsy 6 Motion Capture suit calibration cube – which served the purpose, but also had following shortcomings:
- Physical size was not ideal for IBL sets intended for larger asset renders
- Color of cube made it had to see / work with
- Bars very thin – making them hard to see.
- It was part a system owned by my former employer in UK, so not available to me in USA.
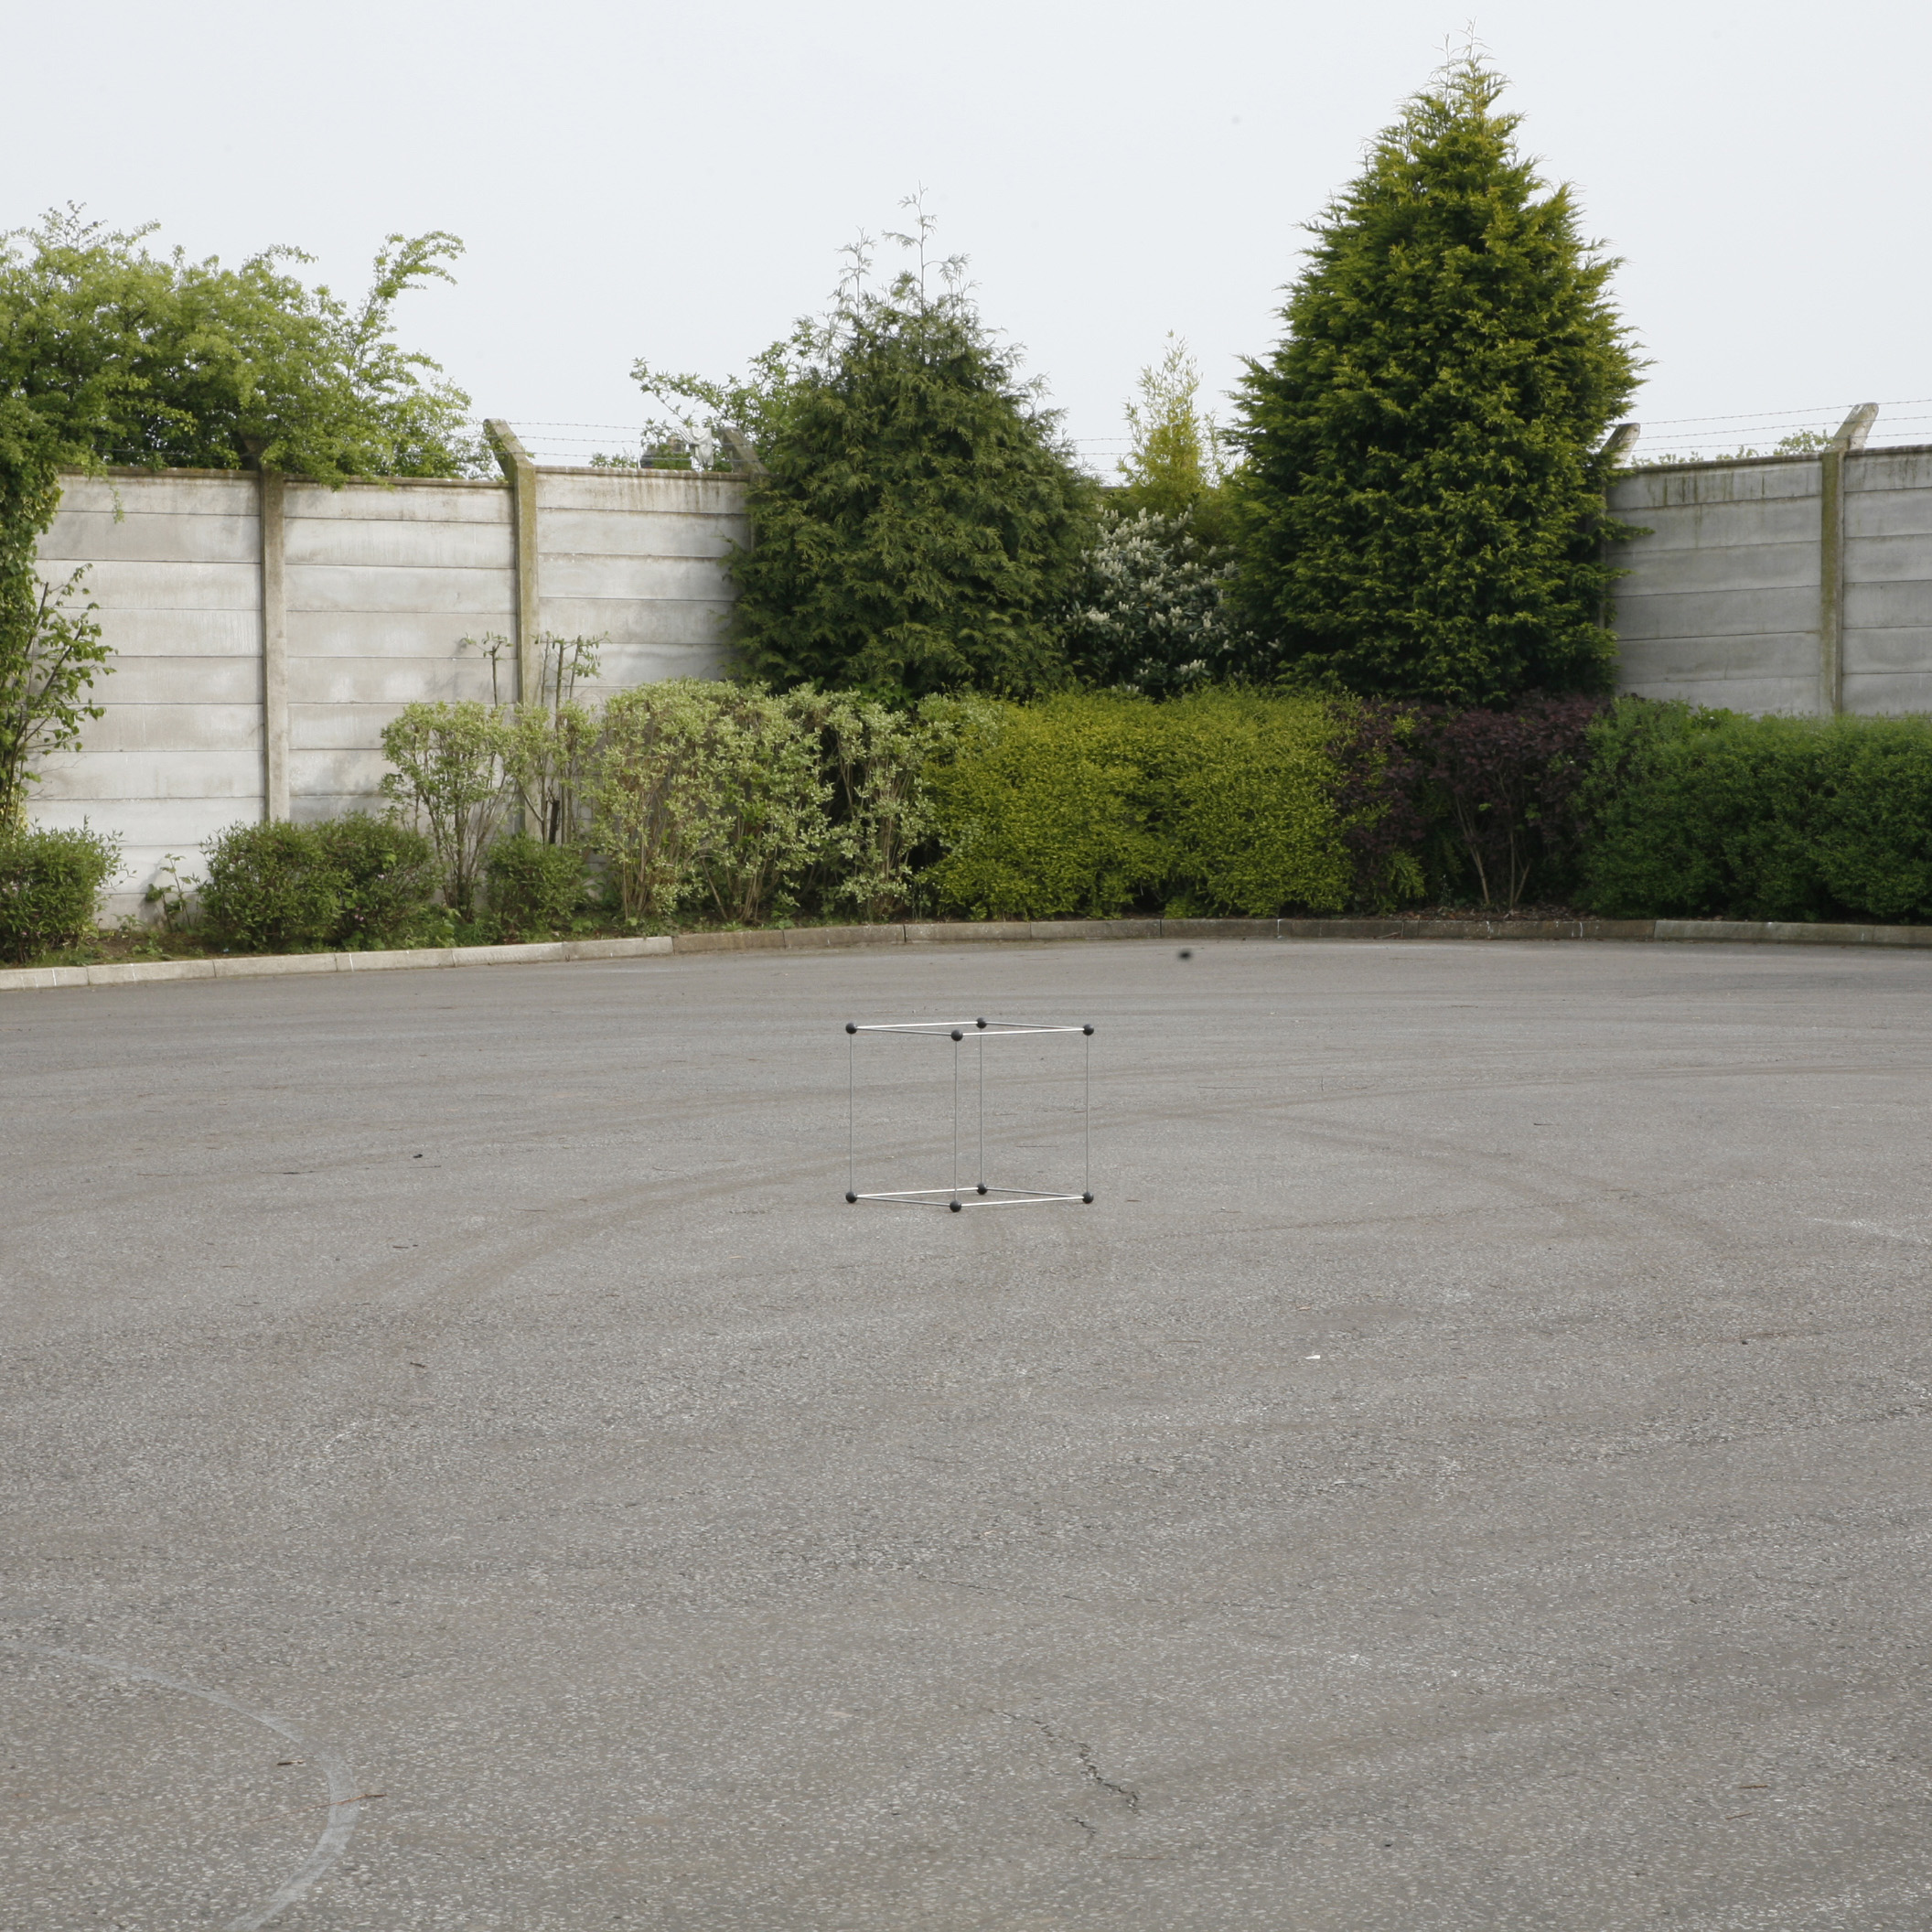
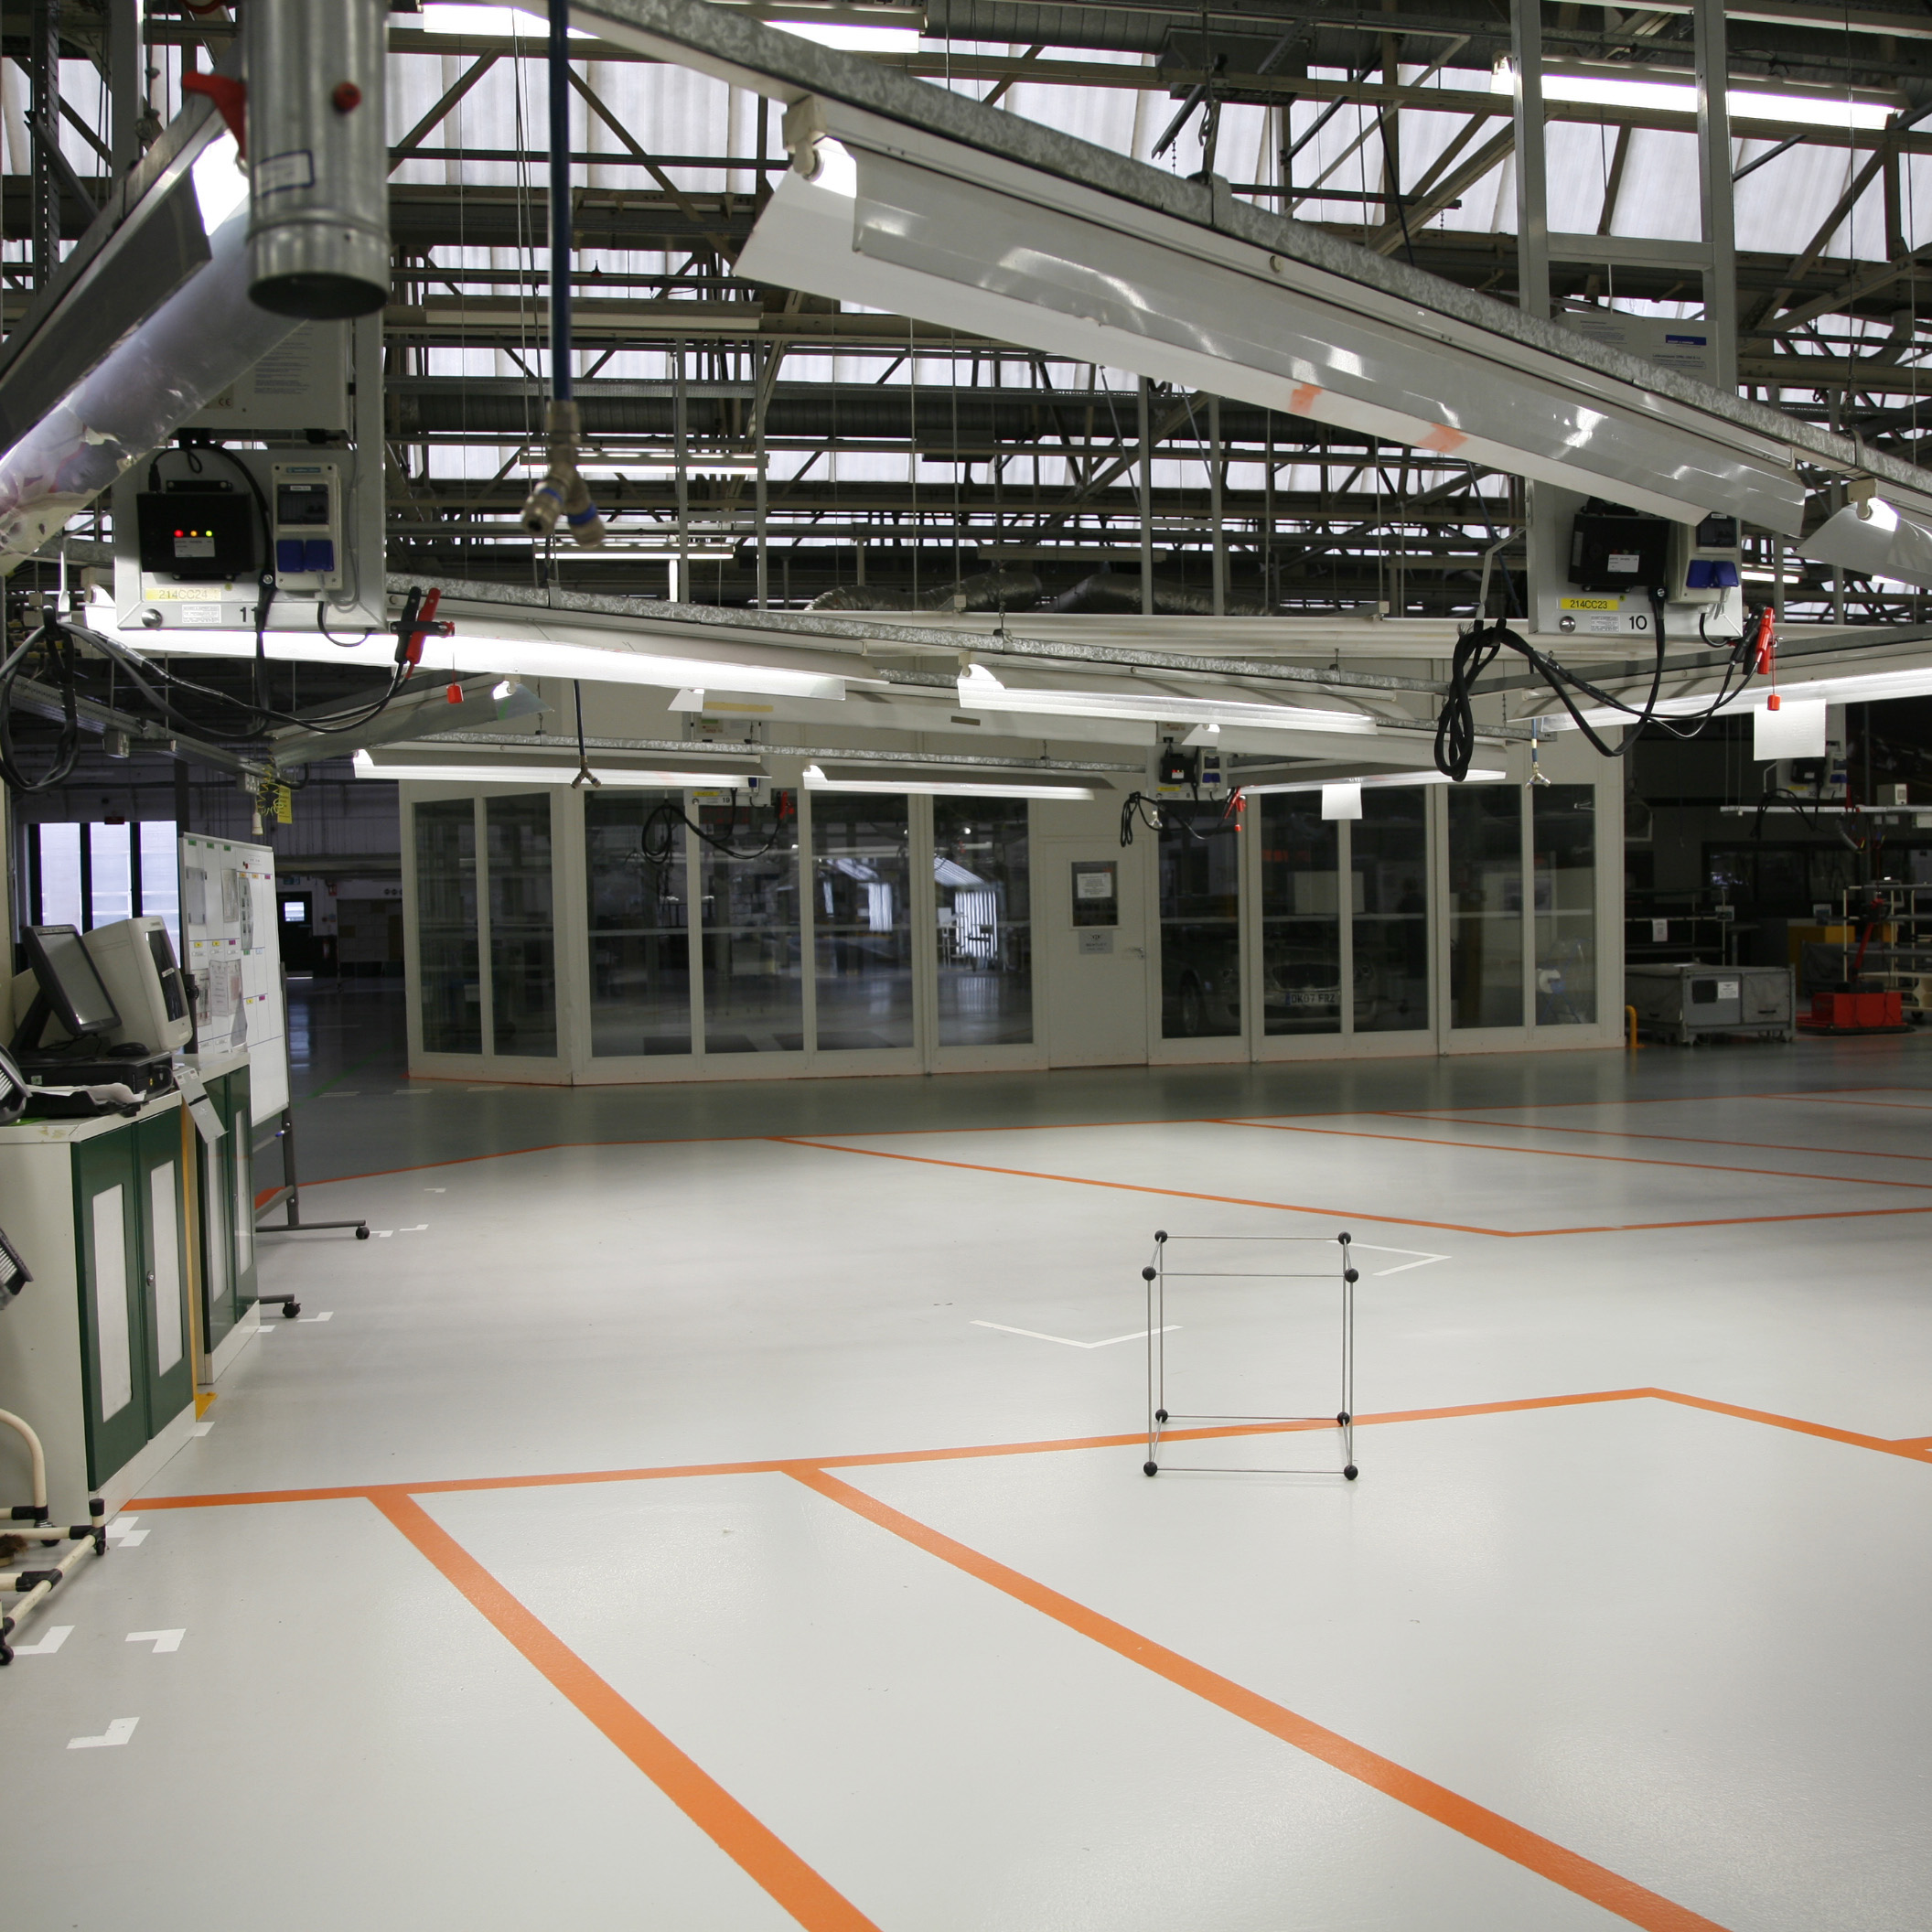
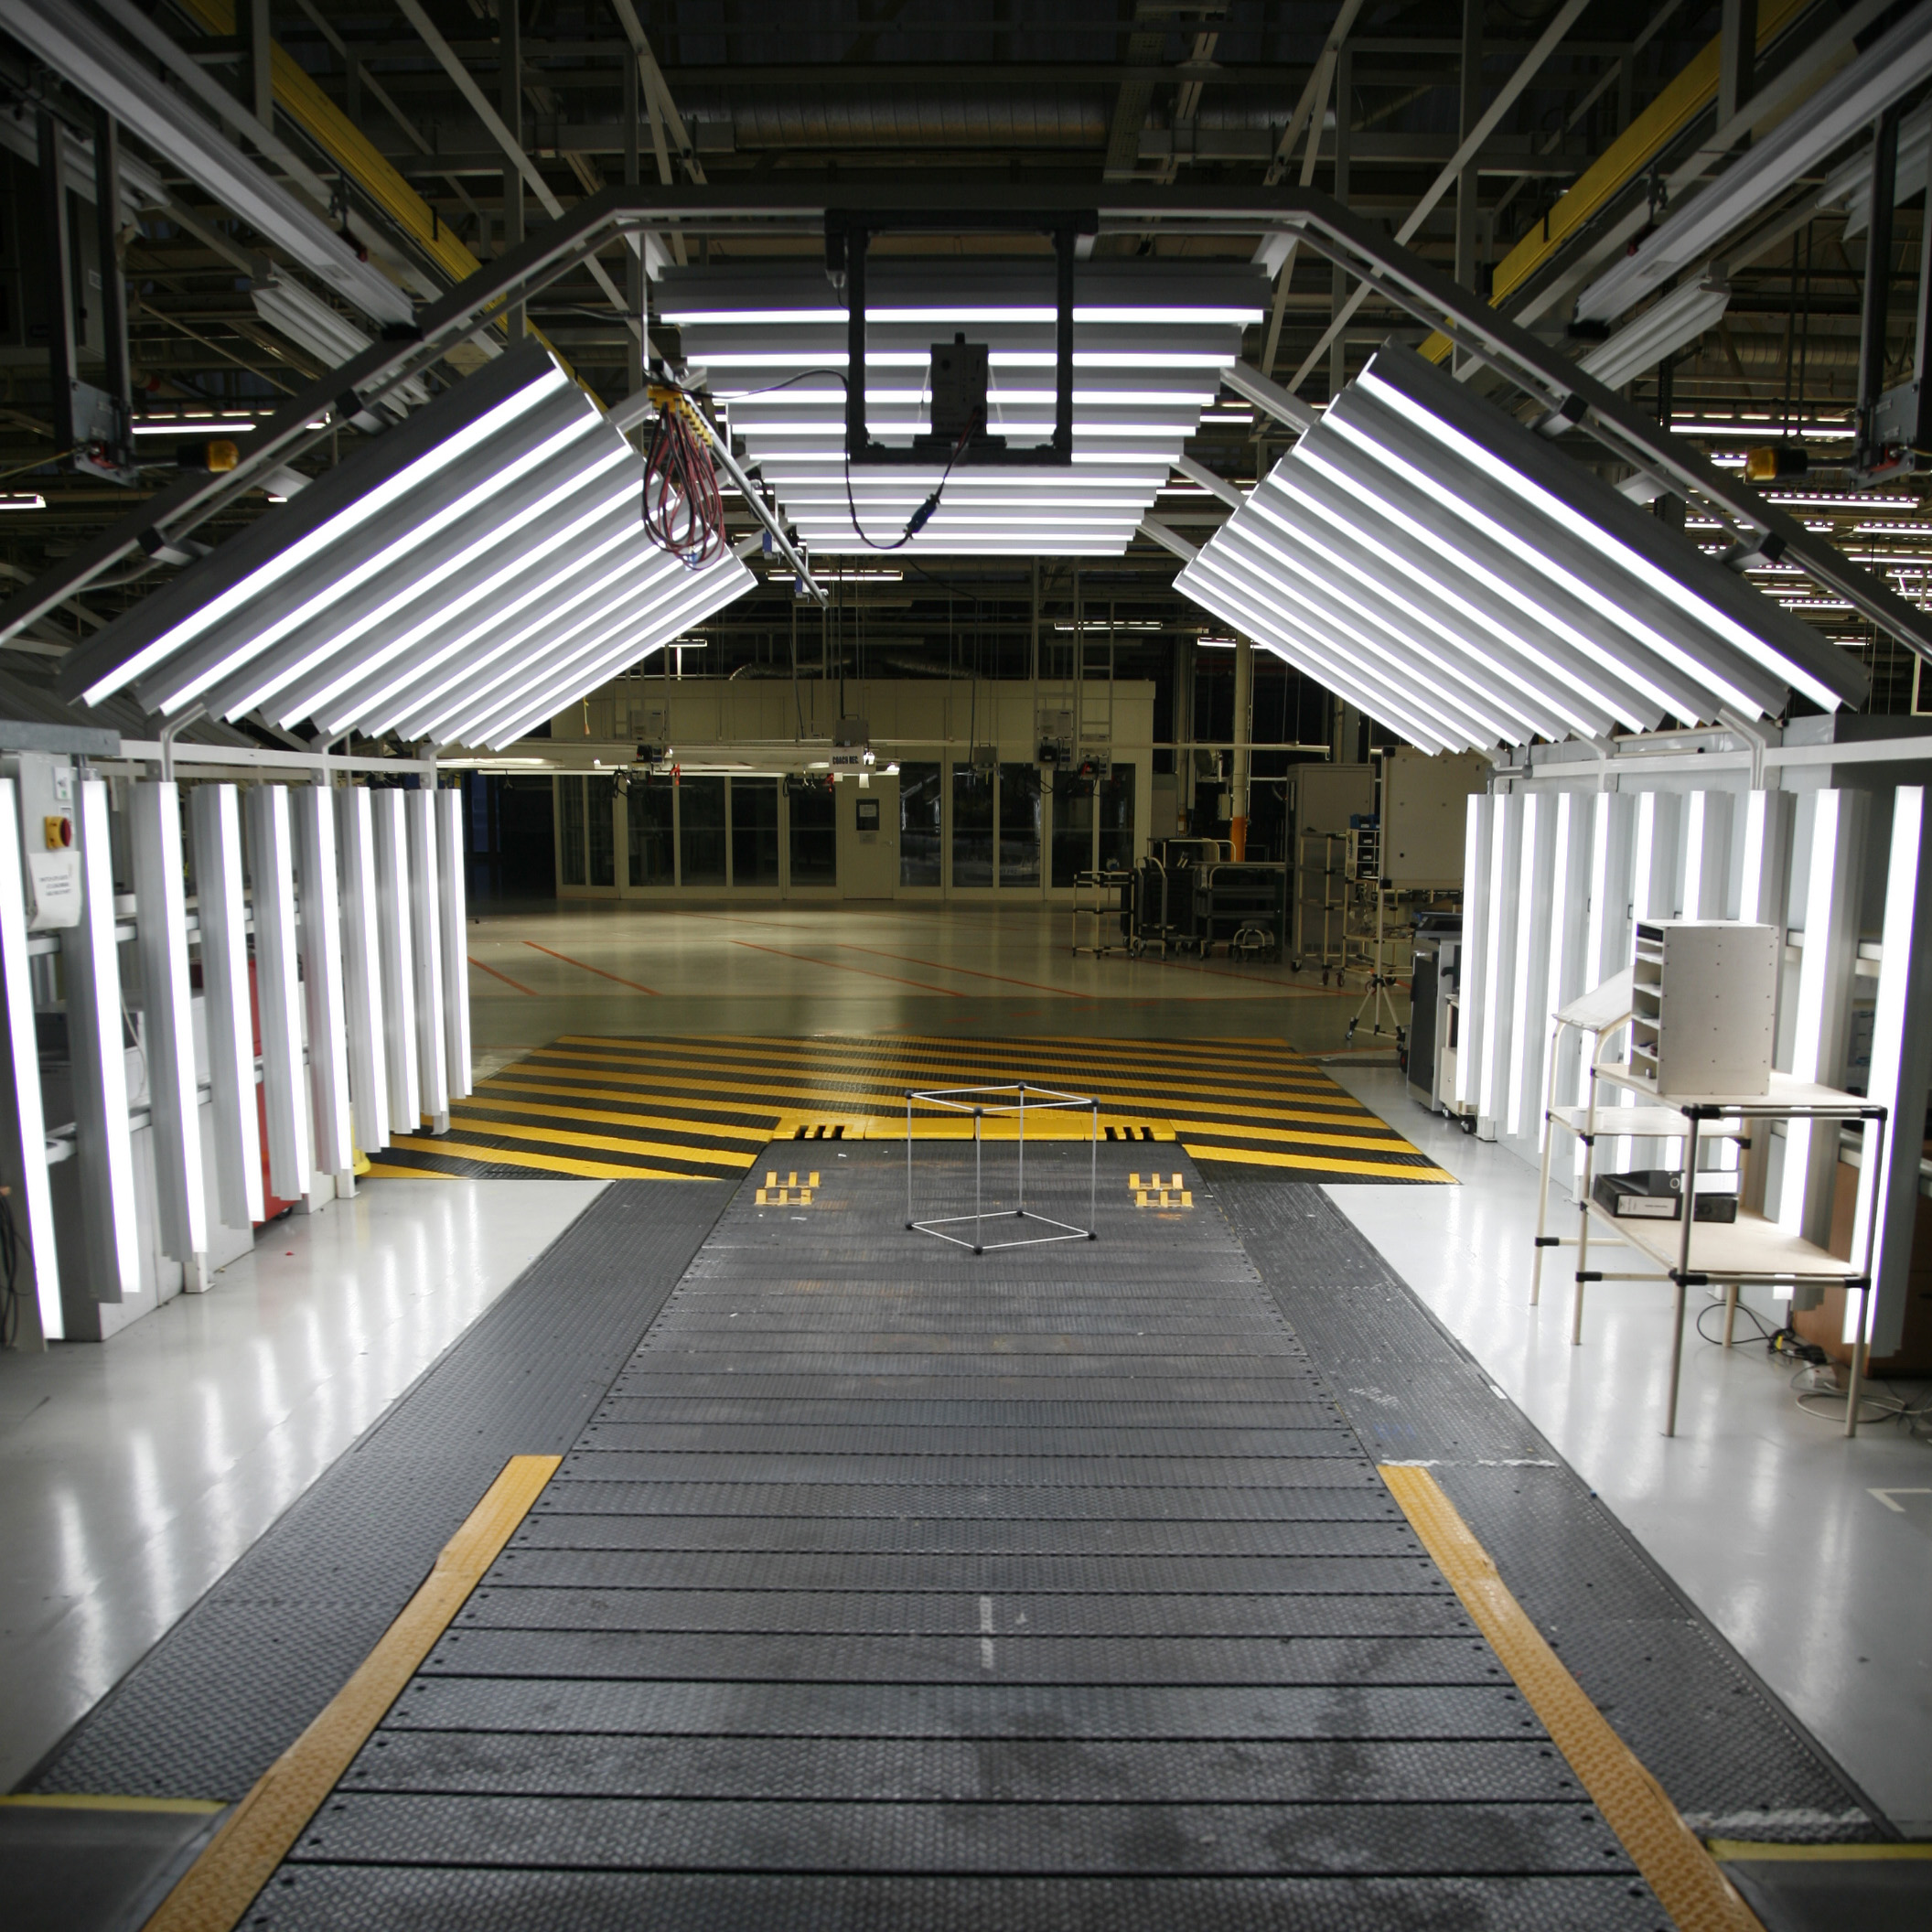
Above : Measurement Cube ‘on location’ – Bentley Motors, Crewe, United Kingdom – Photos Huw Thomas
Budget Alternative – Cardboard Board
In absence of above, I have used cardboard boxes, although this again has its limitations:
- Not square
- Cannot see through it
- Harder to establish ‘perspective’ viewpoint
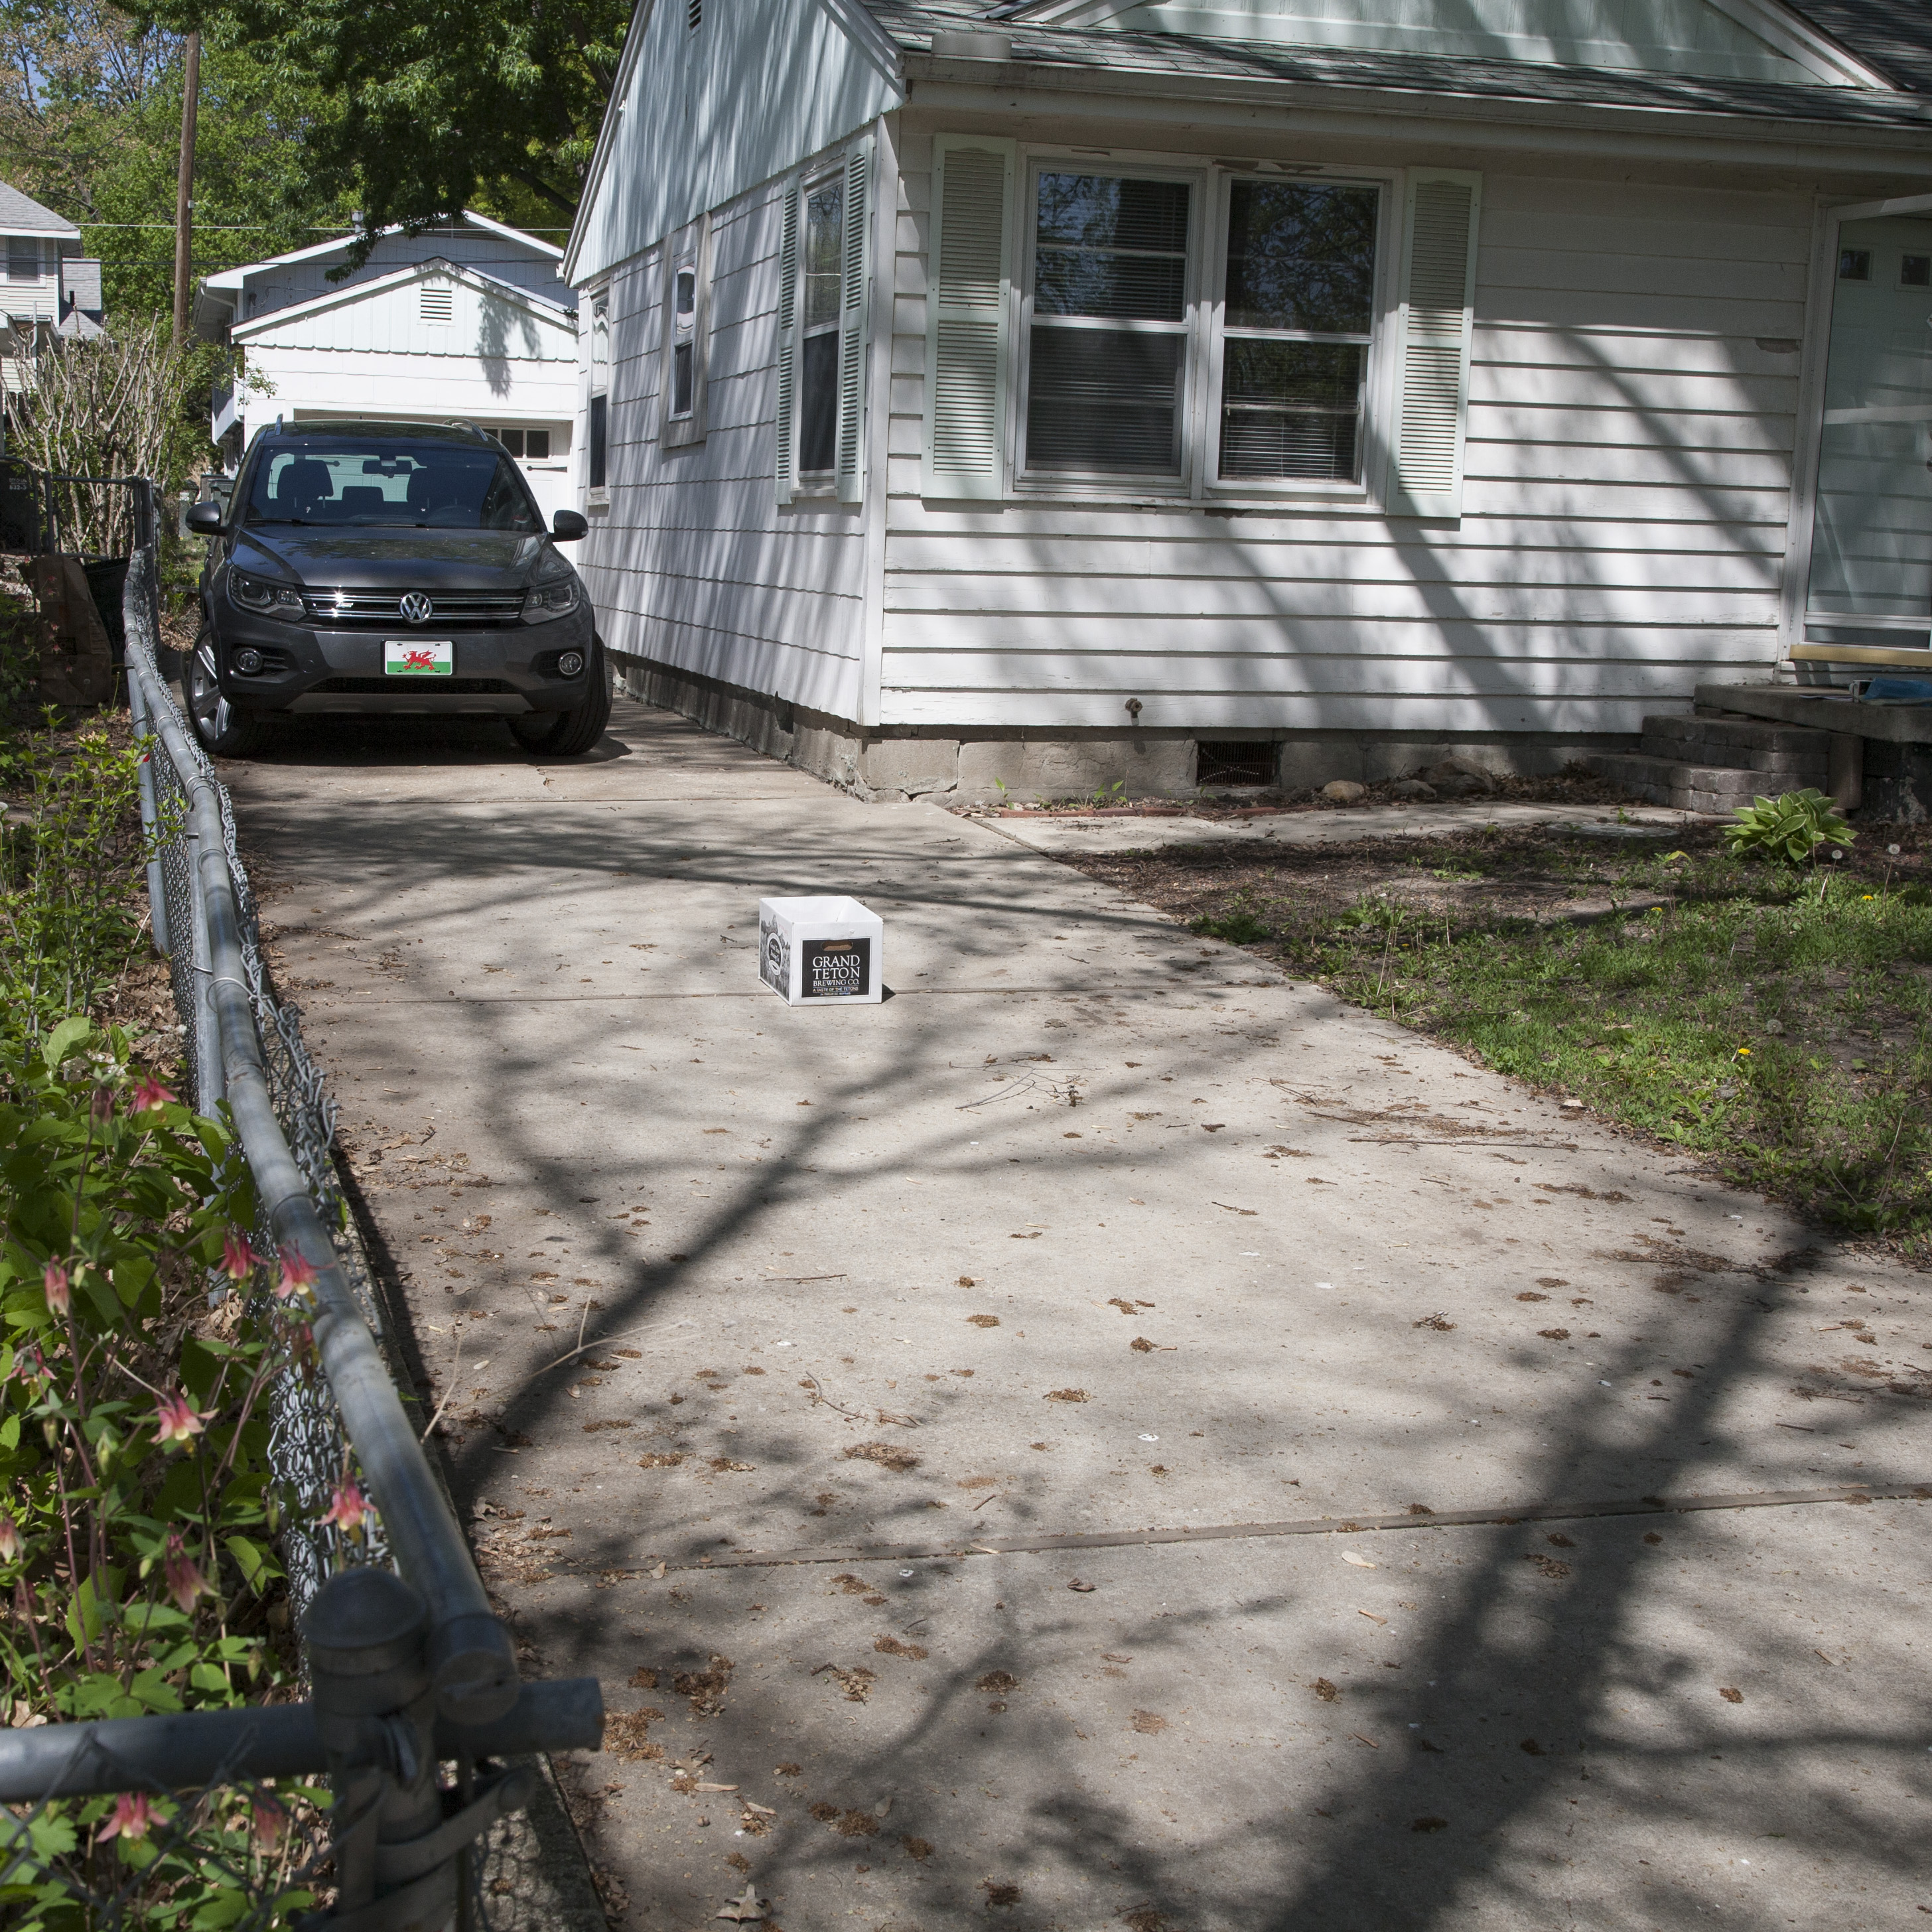
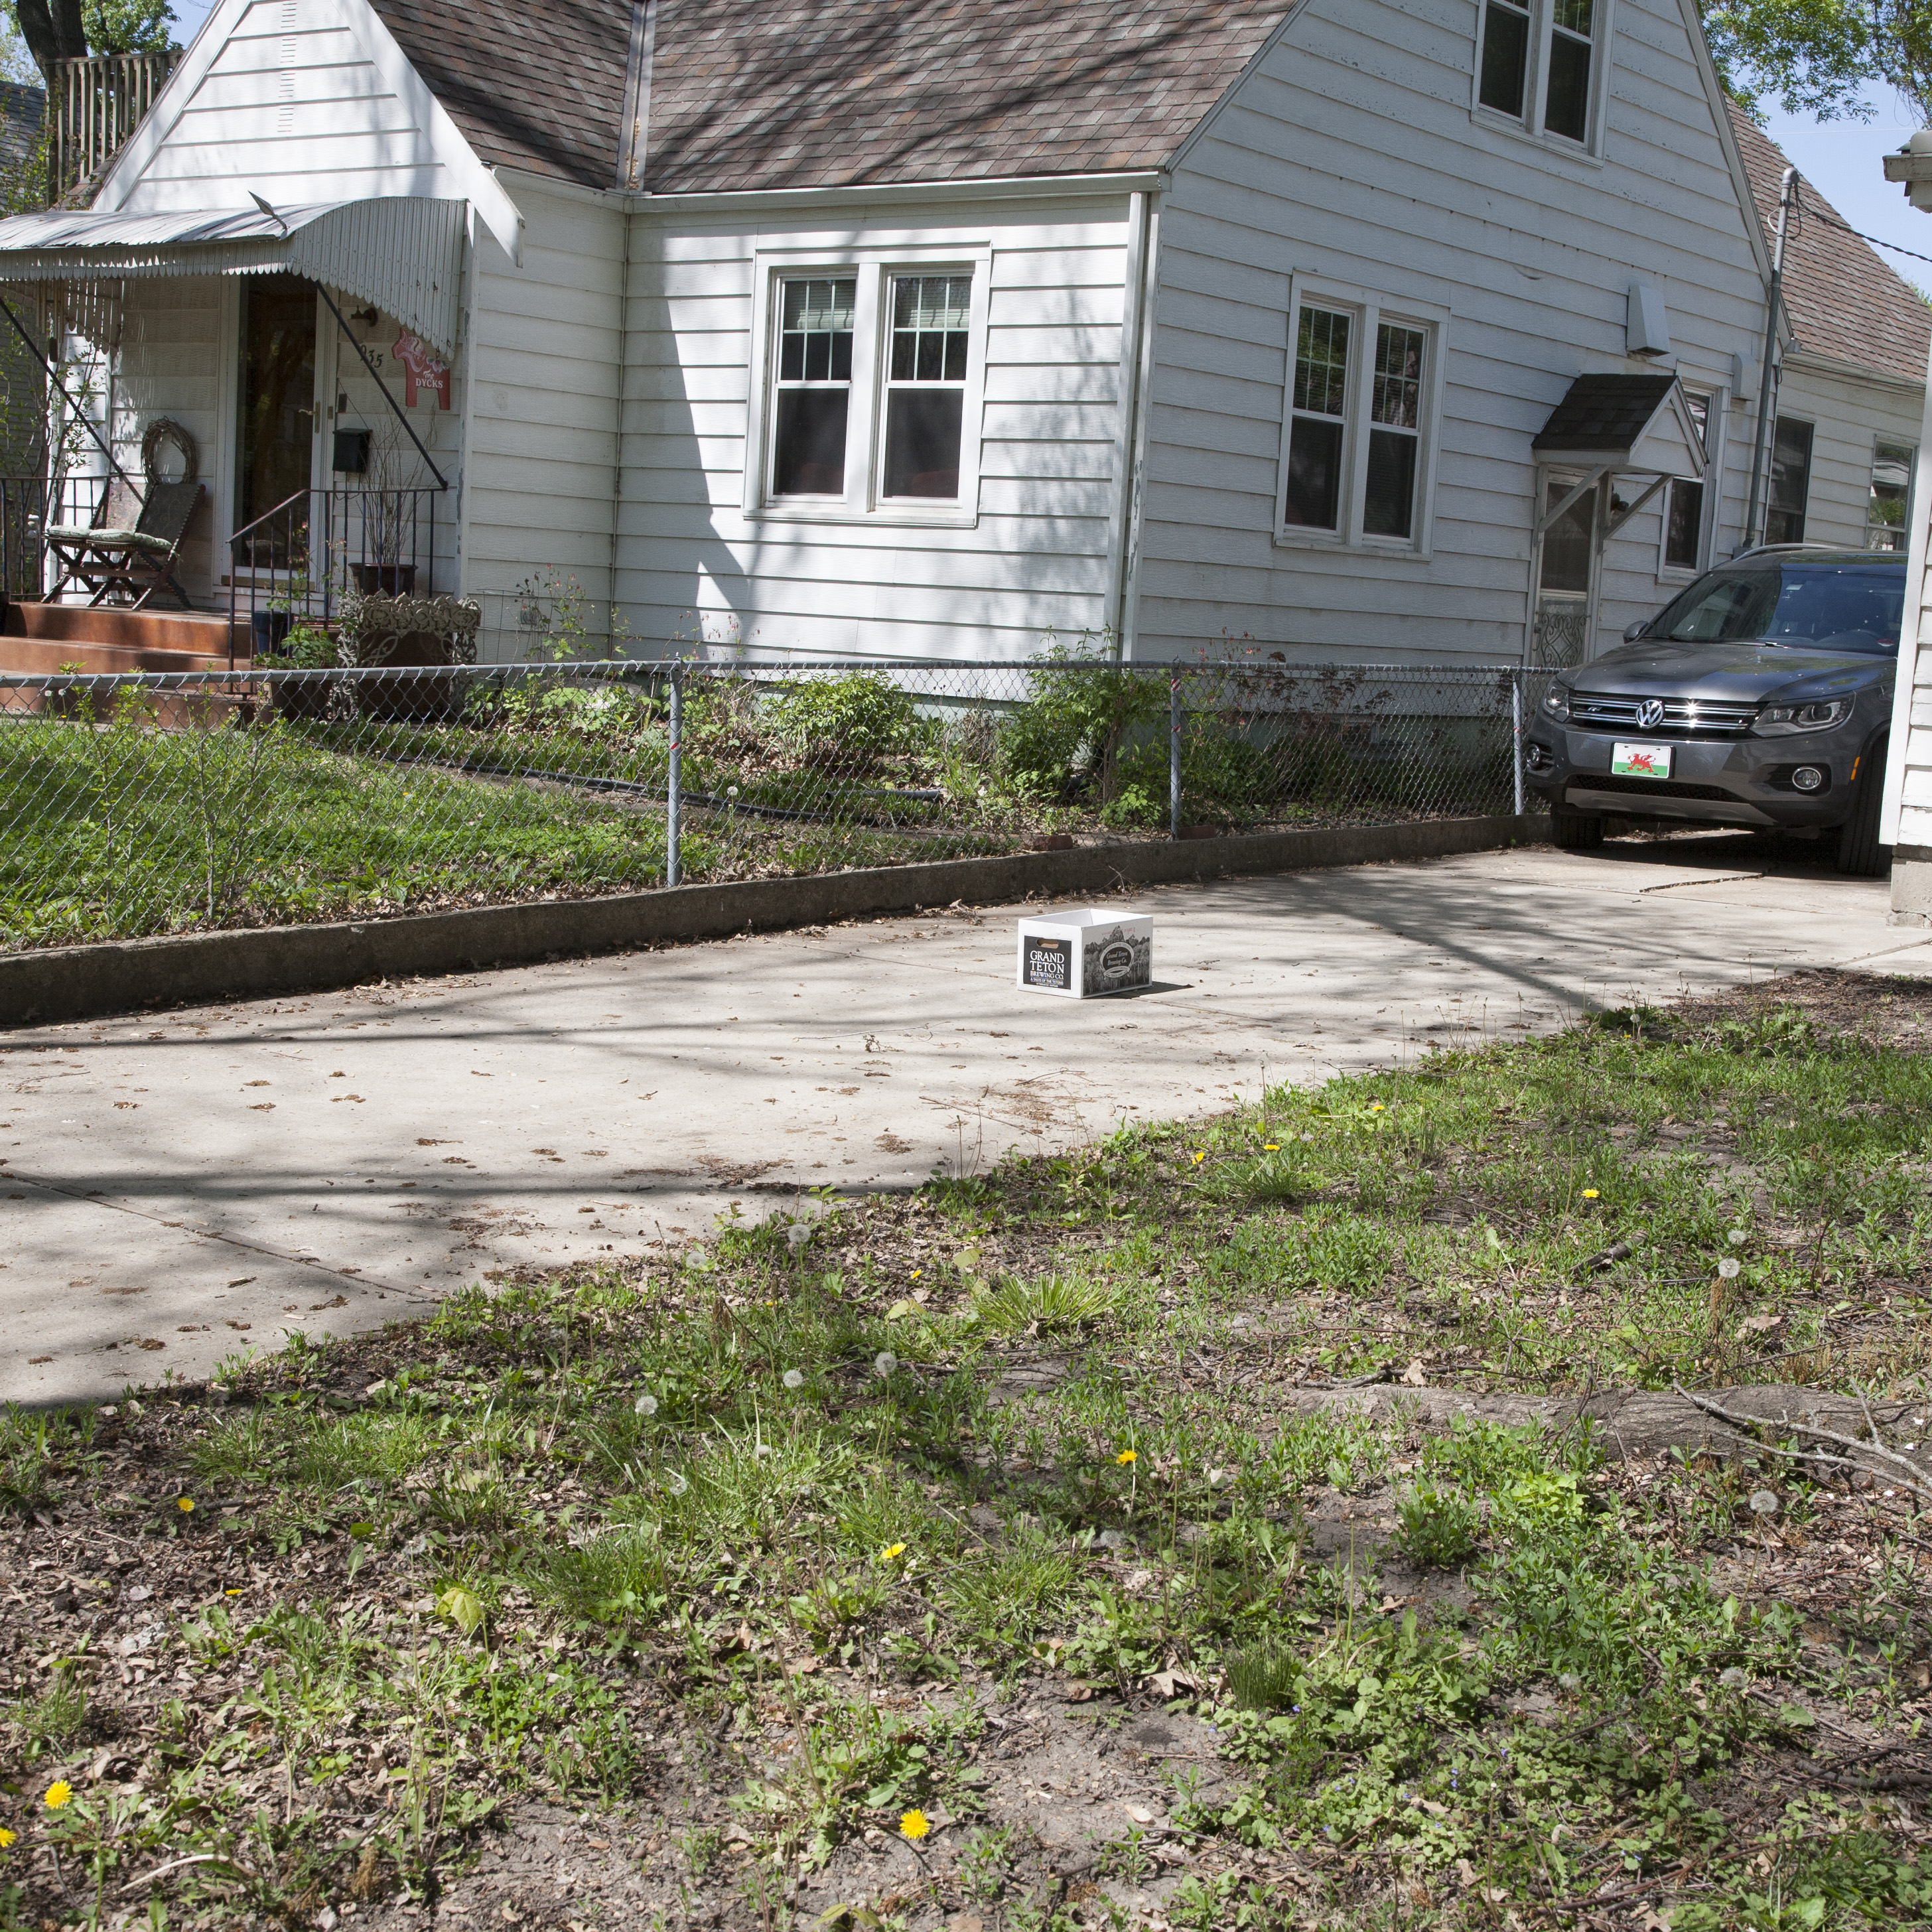
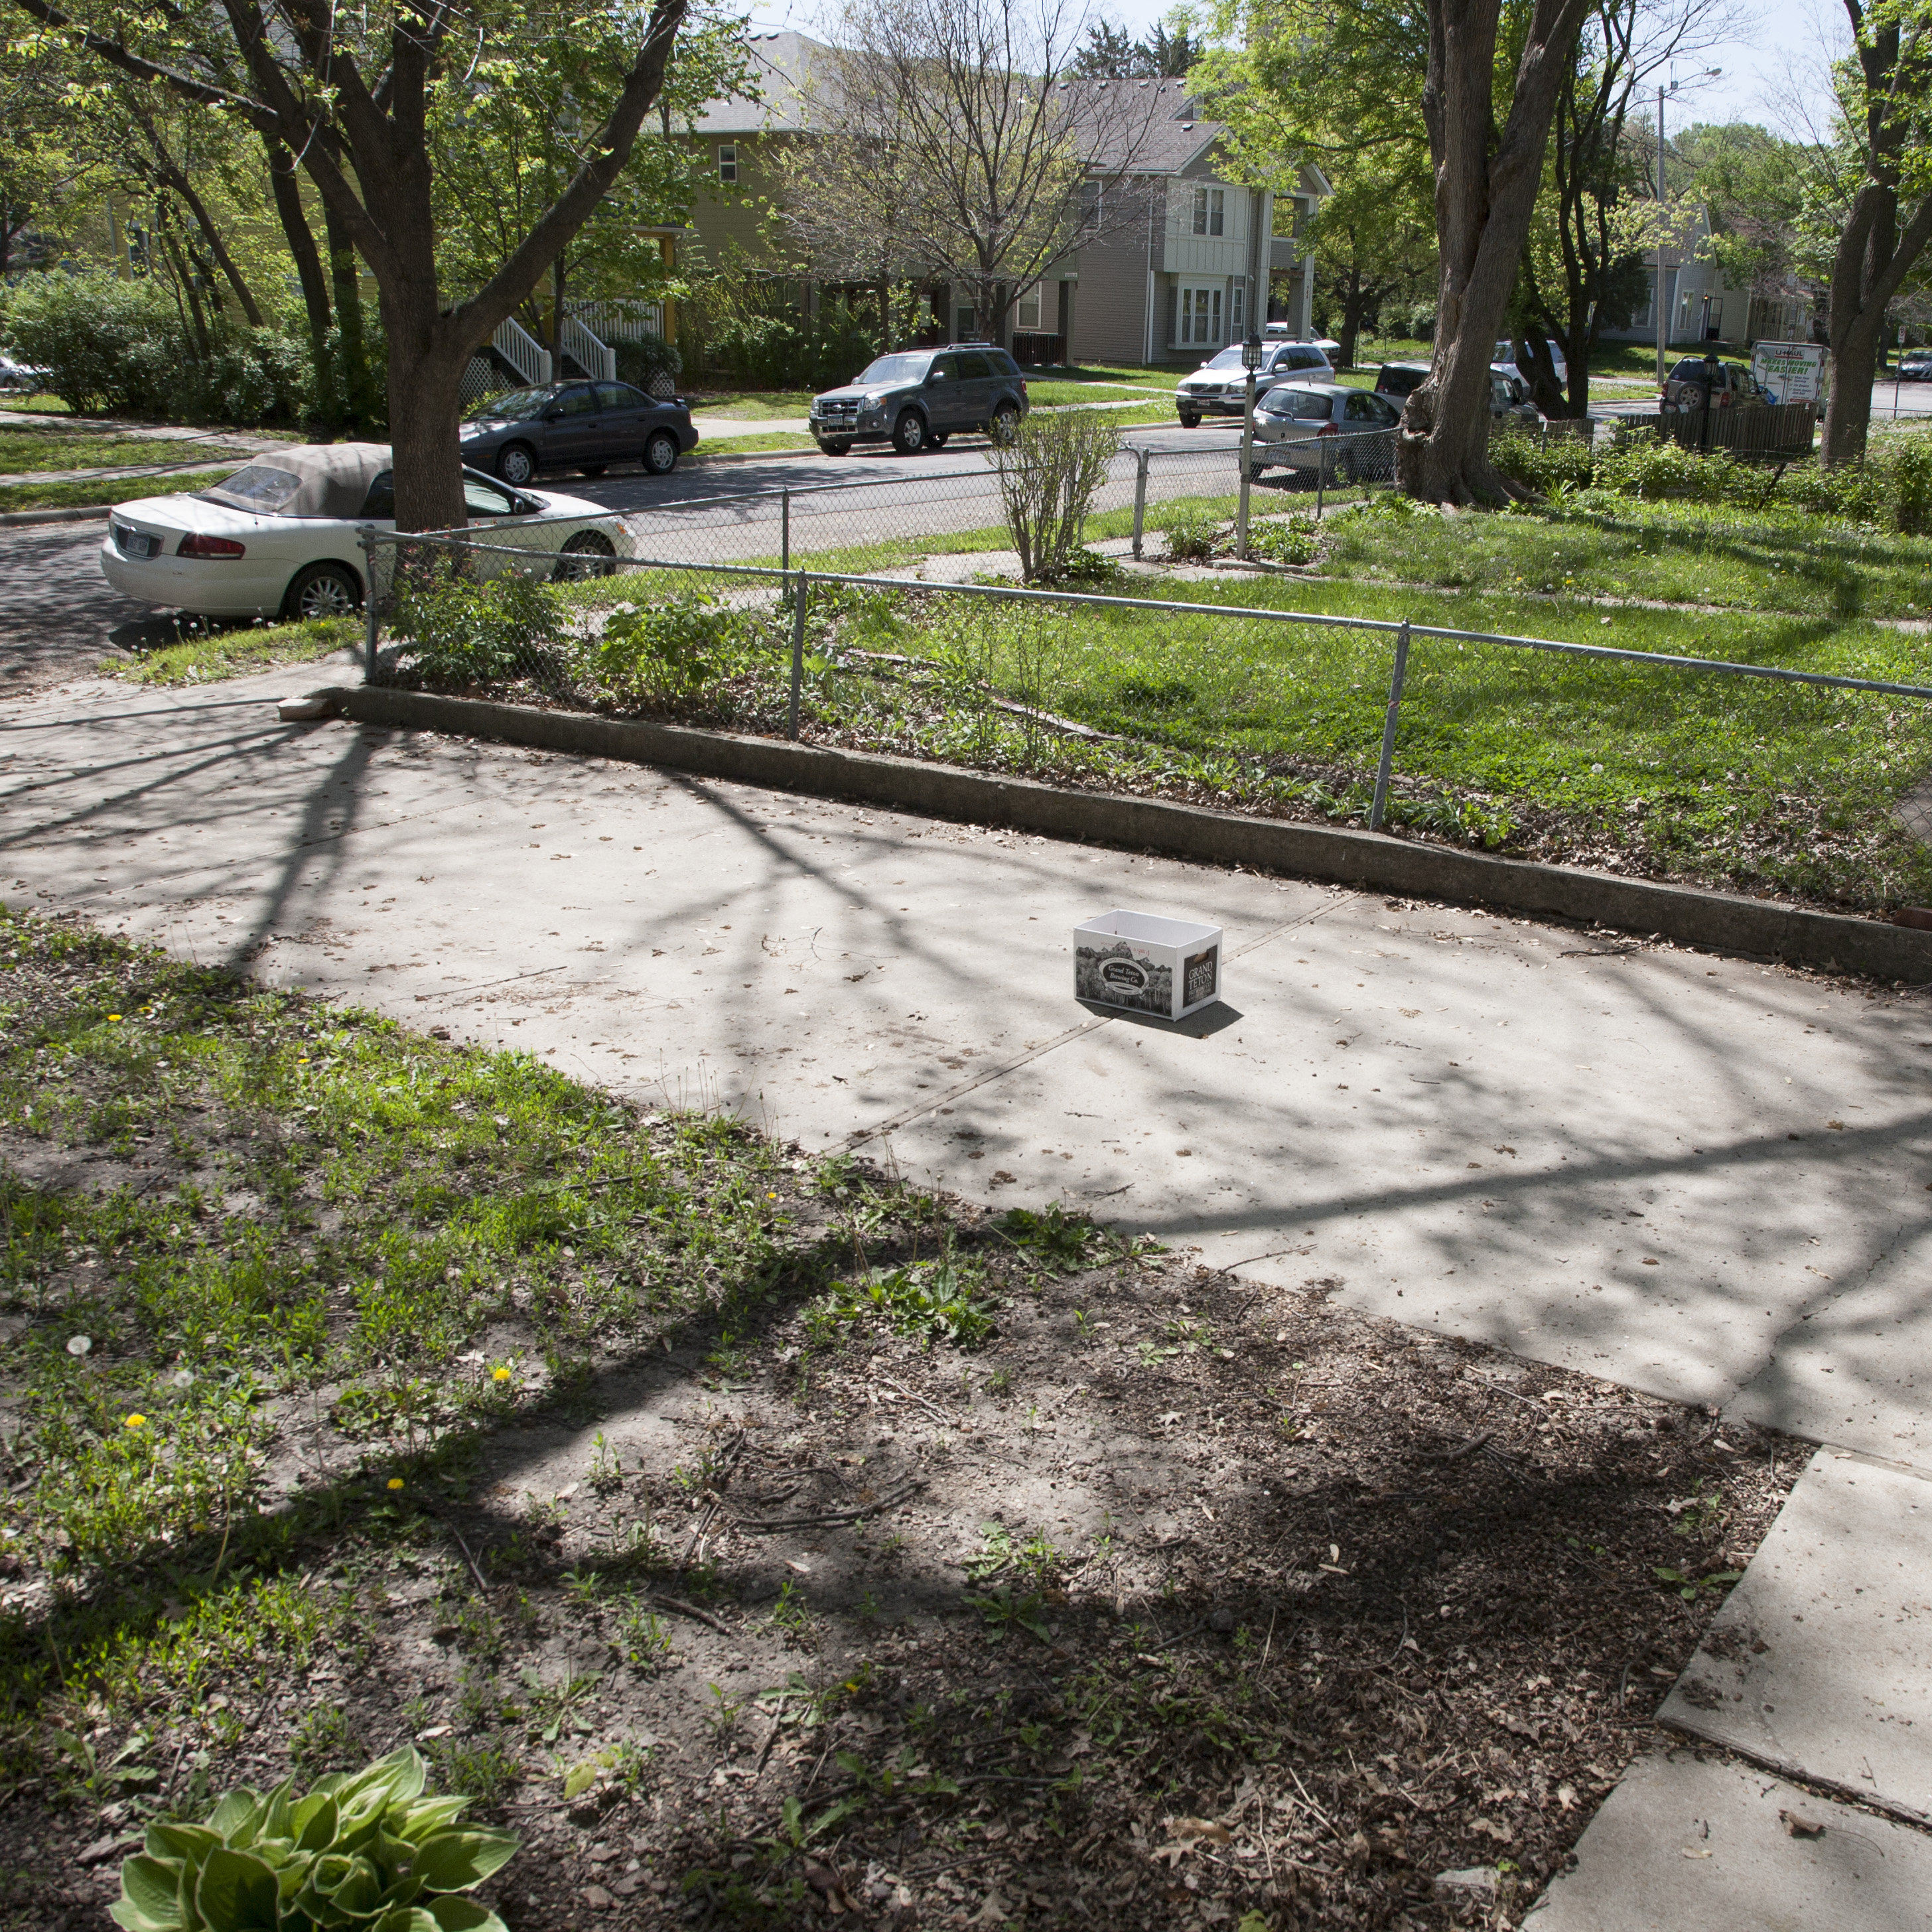
Above : Cardboard box ‘measurement cube’
Resultant Images – Test Renders


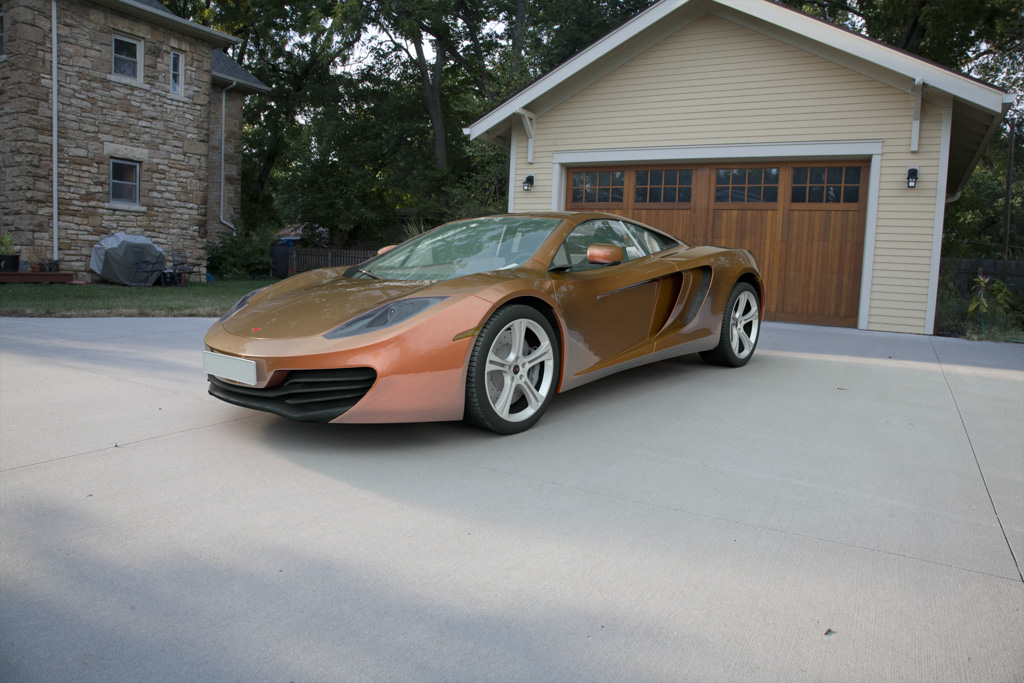
Above : Renders using budget measurement cube | Rendered Huw Thomas (Keyshot)
My solution comprises:
- 8 X 3D printed corners – using a MakerBot 3D printer
- 12 X 2 foot PVC tubes (courtesy of The Home Depot)
Cube Measurements (in Millimetres, as working in Metric inside Maya)
- Across Centers = 630 mm
- Tube Diameter = 21 mm
- Sphere Diameter = 50.8 mm
End result – a fairly lightweight, highly visible asset – total cost about $20
Image to be inserted
